
This is a followup to a post from July 4, 2012. I’ll start with the relevant text from the original post:
Experimentation is the key to successful gardening. What grows in your area? What part of your area is best for a specific variety? Because variety-X will grow in your USDA Plant Hardiness zone, does that mean that it will grow in your county? in your own garden? in different places in your yard?
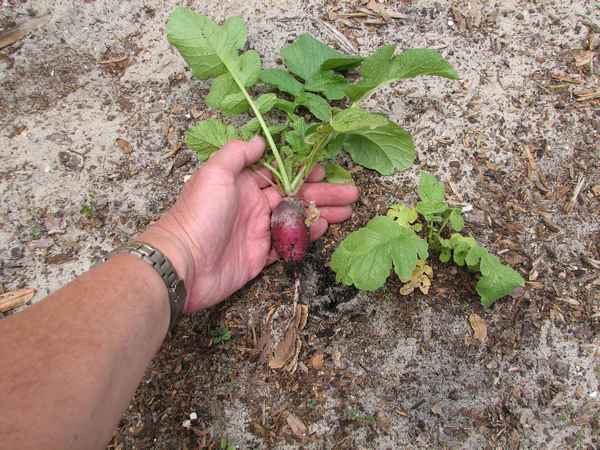
On June 28, I planted some Seminole Pumpkin seeds in soil blocks. One week later, they were well-sprouted and had roots extending from the blocks. They were ready to plant. That is about the fastest seed-to-transplant time I have seen.
My objective is to be able to grow Seminole Pumpkin in marginal areas where my primary crops won’t grow. Seminole Pumpkin is a spreading vine that takes up a lot of room. On the other hand, it has some characteristics that make it an ideal plant for gardening when it counts – when you depend on what you can grow to feed your family :
- The fruit can be picked and stored without refrigeration for almost a full year.
- It was a mainstay of the Florida Indians and early settlers.
- It will spread over the ground, cover fences, and climb trees.
- Needs to be fertilized only at planting and requires no protection from insects.
- Is excellent baked, steamed, or made into a pie.
- The young fruit is delicious boiled and mashed.
- The male flowers can be dipped in batter and fried as fritters.
- It produces continually and roots at the nodes.
For this test [2012], I planted groups of three plants in three different areas. They will be given a single dose of fertilizer and then water as needed. My goal is to find a place that I could plant Seminole Pumpkin and let it take over a large part of otherwise-unproductive land. Since this is an excellent subsistence crop that requires a large area, the ideal would be for it to grow over what is now bare areas and lawn grass.
This is quite late in the year to start Seminole Pumpkin, but it will suffice for this experiment. If this is successful, I will be planting them in the Spring.
Follow up:
The 2012 planting did not do well at all. While the Seminole Pumpkin can do without fertilizer once it is well established, it needs a rich place to get off to a good start. Simply planting them in sand with a little fertilizer added will result in plants that probably aren’t going to die right away, but they won’t grow either. In my next post, I’ll show how I planted the 2013 crop of Seminole Pumpkin. The difference was incredible.
For this post, we’ll look at the long term storage properties of the Seminole Pumpkin.
The pumpkins were picked when fully ripe. They were washed off, then placed on shelves in our garage. Basically, they were stored at the same temperature and humidity as the outside air. Out of all the pumpkins that I harvested in 2012 and 2013, probably less than a half-dozen went bad. I would have a shelf full of pumpkins that looked like they were picked yesterday, and one that shriveled into an unidentifiable rotting mass. What starts the process, I have no idea.
We have cooked several of them, and they were good – not something that gourmet chefs will be anxious to use, but they have a good taste (very similar to a regular pumpkin or winter squash), are nutritious and satisfying, and they are easy to prepare. Since this year’s experiment has to do with how well they store, we didn’t want to eat up the test subjects. We’ll experiment with preparing the harvest from the 2014 crop.

Harvested in July and August 2013. Photo taken December 27, 2013.

Harvested in July or August 2013. Photo taken December 27, 2013. What caused this one to rot while those next to it are just fine? I have no idea.
Conclusions:
- Seminole Pumpkins require good rich organic soil to start off with. Once established, they can do OK with not much else.
- Long term storage in typical Florida temperatures and humidity is excellent. Some will rot, so it it important that they be stored with adequate air space between them and on something absorbent, like newspaper, in case they start to rot and leak.
- They are an excellent crop to grow as an emergency food source should refrigeration and other means of preserving food become unavailable.
PDF Doc – “The Sturdy Seminole Pumpkin Provides Much Food with Little Effort”, by Julia F. Morton; Pages 137-142; Florida State Horticultural Society, 1975.

 Tree Clearing – We had over twenty old water oak trees and a few palm trees removed from the property. Water oaks are like weeds – they grow quickly, drop branches, make a mess, then rot and die. I didn’t want to spend the rest of my life watching old trees rot and die.
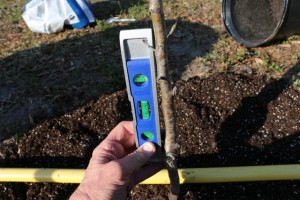 Tree Planting – With the water oaks removed, I now have open sunny areas to plant fruit trees. There are now rows of pears, apples, peaches, persimmons, figs, and pomegranates. I’ve planted plenty of trees in the past, but most of them were planted the wrong way. I learned how to correctly plant a tree to assure that it doesn’t have problems several years later.
 Honey Bees – With the prospect of having fruit trees that will need pollinating, and a vegetable garden that needs pollinating, I’m now a beekeeper with five hives. I’ve joined the
 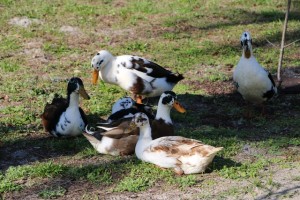 Ducks and Chickens – After many years of keeping chickens, I have switched over to ducks. I had planned to keep both, but the ducks have worked out so well, it just made more sense to only have the ducks. We’ll have some posts about the pros and cons of ducks and chickens. It’s probably not the best choice for everyone, but it might be for you.


Recent Comments